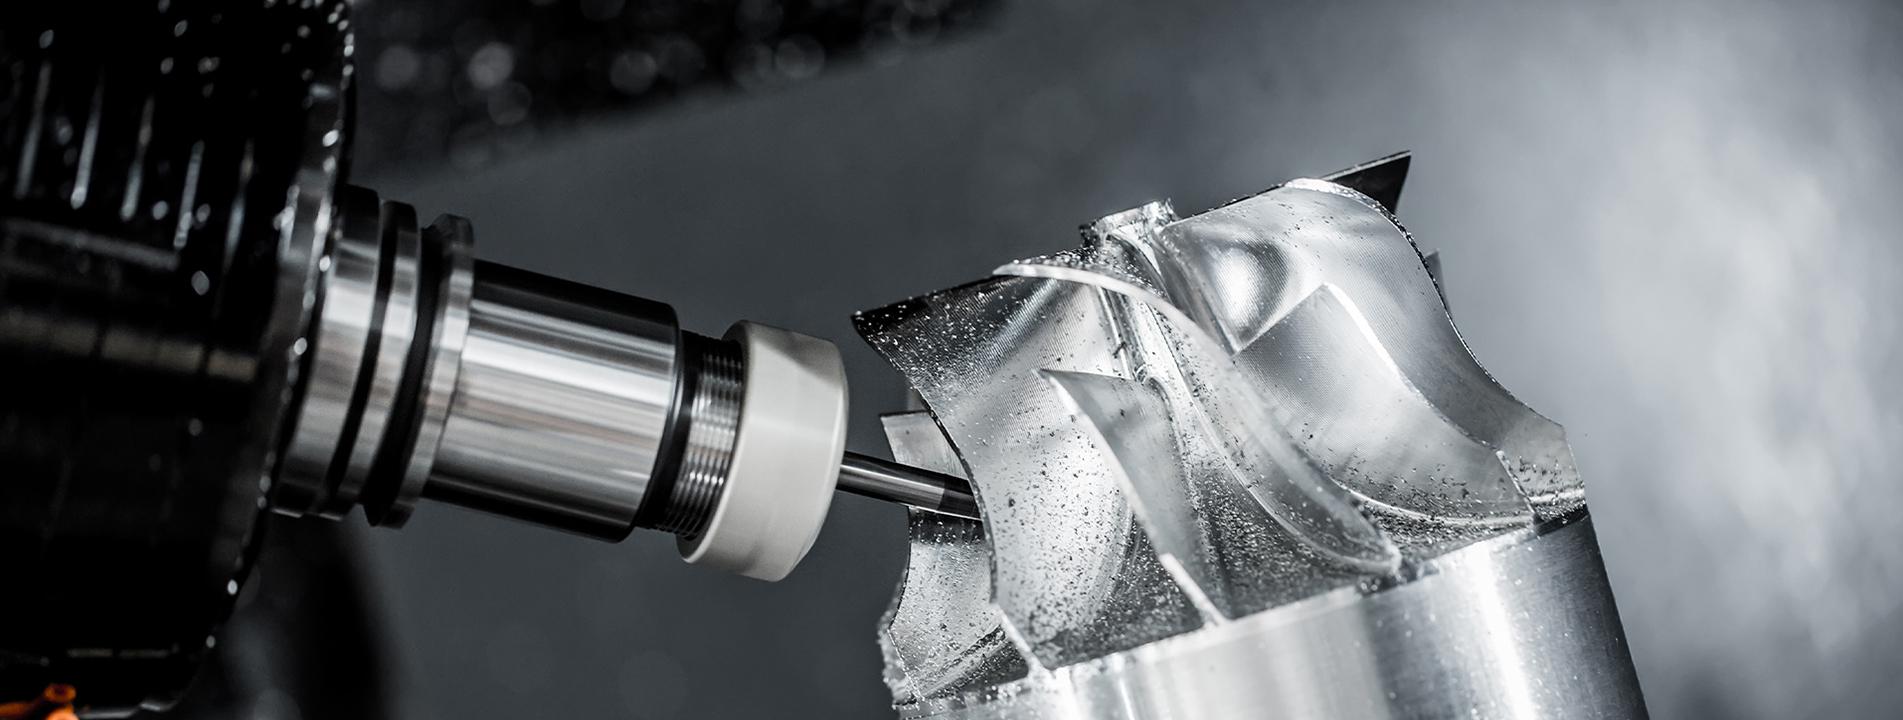
In the world of metal stamping, tooling wear is inevitable. But knowing exactly when to replace a punch or regrind a cutting edge can mean the difference between high-quality output and costly downtime.
When to Replace a Punch
Punches are among the most stressed components in a stamping die. Here are the critical signs that it's time for replacement:
Visible Wear or Chipping
Inspect the punch tip regularly. If you notice:
Rounded or dull cutting edges
Small chips or cracks on the surface
Uneven wear patterns
Replace immediately. Continuing to use a chipped punch can damage the die button and produce burrs on your parts.
Excessive Burr Height
Burr height is one of the most reliable indicators. Measure burrs periodically:
Acceptable: Less than 10% of material thickness
Warning: 10–15% — plan for replacement soon
Critical: Over 15% — replace immediately
Dimensional Drift
If stamped parts begin to fall outside tolerance, even after adjusting the press parameters, the punch may be worn beyond its useful life.
Increased Punching Force
A sudden or gradual increase in press tonnage often indicates that the punch is dull and requires more force to shear through the material.
Surface Finish Degradation
When the sheared edge becomes rough, torn, or shows excessive rollover, it's time to evaluate punch condition.
General Rule of Thumb
For standard tool steels punching mild steel (up to 3mm thick), expect a typical punch life of:
50,000 – 200,000 strokes before resharpening
Replacement after 3–5 regrinds, or when the punch length is reduced by 20%
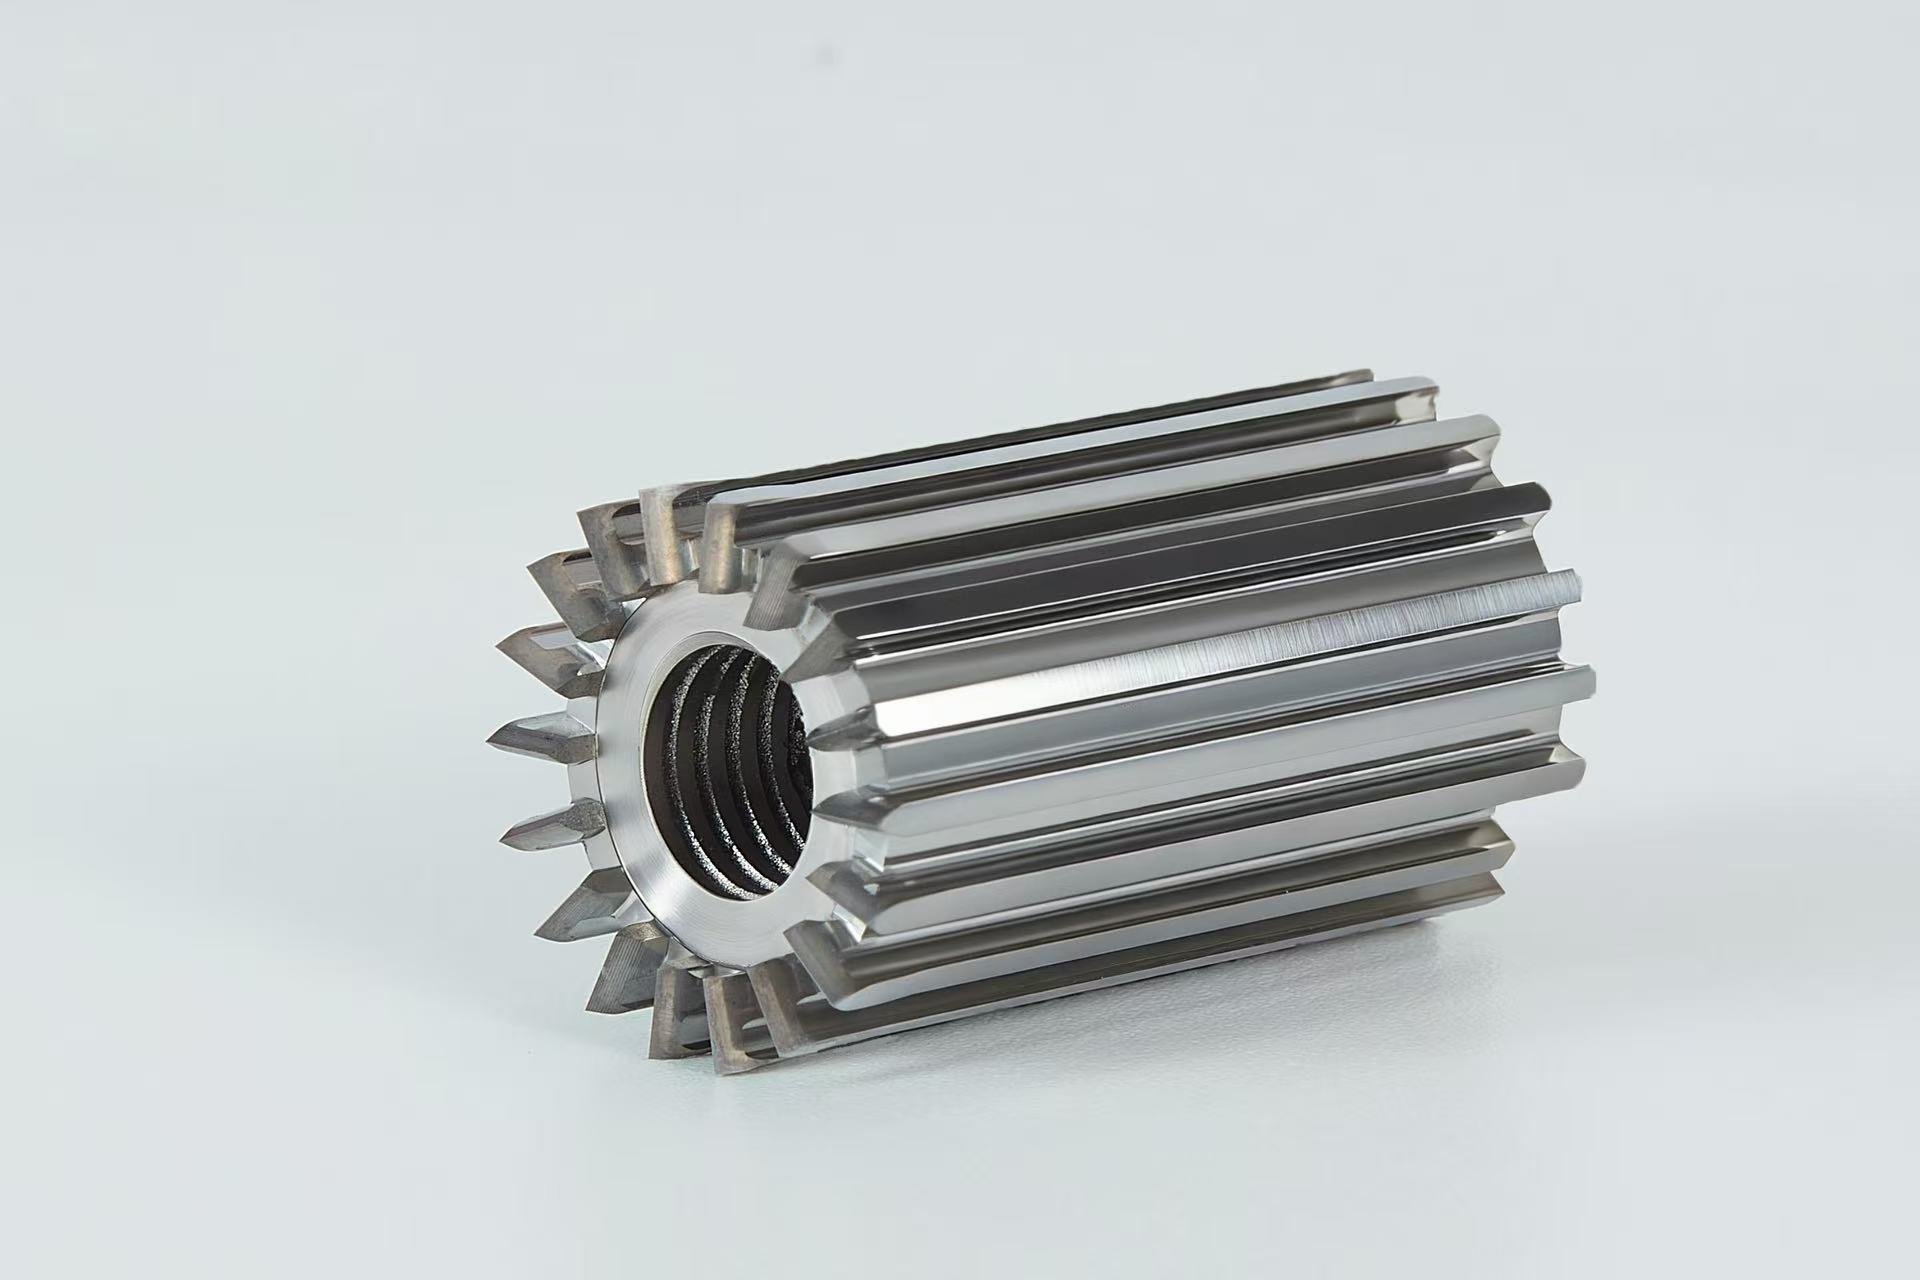
When to Regrind Cutting Edges
Regrinding restores sharpness without replacing the entire tool. Proper timing maximizes tool life while maintaining quality.
Key Indicators for Regrinding
1. Burr Threshold Exceeded
As mentioned above, once burr height reaches 10–15% of material thickness, schedule a regrind. Do not wait until it hits the critical zone.
2. Edge Radius Increase
Use an optical comparator or microscope. If the cutting edge radius exceeds 0.05–0.10 mm, regrinding is overdue.
3. Galling or Pick-Up
When material starts sticking to the punch or die surface, it indicates micro-welding due to heat and friction. Regrinding removes the damaged surface layer.
4. Sound and Vibration Changes
Experienced operators often hear when a die is dull. A change from a clean "snap" to a dull "thud" or increased vibration signals the need for maintenance.
5. Consistent Production Counts
Many shops adopt a preventive approach:
Regrind every 50,000 – 100,000 strokes depending on material type and thickness
Track actual performance and adjust intervals accordingly
Recommended Regrind Amount
Remove only 0.05 – 0.15 mm per regrind
Avoid removing too much material at once, as this generates heat and can soften the tool steel
Best Practices for Maximizing Tool Life
Practice
Benefit
Use proper lubrication
Reduces friction and heat buildup
Maintain correct clearance
Prevents excessive wear and chipping
Align punches precisely
Eliminates uneven loading
Store tools properly
Prevents corrosion and accidental damage
Keep detailed maintenance logs
Enables data-driven replacement decisions
The decision to replace a punch or regrind a cutting edge should never be based on guesswork. By monitoring burr height, dimensional accuracy, edge condition, and production counts, you can implement a predictive maintenance strategy that reduces unplanned downtime and extends tool life.A well-maintained die is a profitable die.


 Red IPv6 compatible